Lab 9: Github Pages
In this lab you’ll make a public website that is accessible by anyone with an internet connection. Please contact your TA (etomson@ucsd.edu) if for personal privacy or security reasons you do not want to publish a public website, even under a pseudonym.
Lab 9 learning objectives
- Learn how to use markdown
- Learn how to make a repository into a Github Pages Site
- Explore expanding upon a site
Table of contents
- Key Definitions
- Part 1: git, Github, and Github Pages Overview
- Part 2: Creating a Website with Github Pages
- Part 3: Fun with Github Pages
Icebreaker
If you could only eat one meal for the rest of your life, what would it be?
Your whiteboard activity for this lab is to write down your names and icebreaker answers. Then towards the end of the lab, add your favorite thing that you learned in this lab as well as any cool things in this clone of the cse29 website you find.
Please also fill out your set evalutaions and IA evaluations!. https://academicaffairs.ucsd.edu/Modules/Evals/
Related Links
Key Definitions
- git repository: A folder that tracks the history of edits to its files
- Github repository: A git repository online, like a Google Drive folder with history
- Github pages: A service that takes a Github repository and builds a website from it (usually relying on conventions, like
index.md) - Markdown: A way to write plain text files with a little bit of formatting
- commit: A set of changes to a file or multiple files in a repository. A repository history is made up of commits
- git clone: A git action to copy a repository from one place to another (usually from somewhere like Github to our computer). Copies the contents of the folder and the entire history – the whole repository.
- git commit: A git action to take some changes we’ve made to files and turn them into a commit in the repository’s history
- git push: A git action to send commits from one place to another (usually from our computer to Github)
Part 1: git, Github, and Github Pages Overview
This lab has many images and sometimes there is quite little text between said images, so be careful not to skip things between images. (switching to dark mode via the toggle switch in the bottom left may help)
Having a professional portfolio website for yourself can be useful in many, many ways. It’s a useful URL to put at the top of your resume/CV where potential employers can learn more about you. Lots of great work in CS is published only on someone’s personal page, or is at least most accessible there. Most CS faculty have such a page (just a few examples from new CSE faculty), for example.
Also, journaling and logging what you’ve learned is a powerful tool. Writing down what we’ve done and how we’ve done it, for an audience (real or imagined) other than ourselves, forces us to confront lingering misconceptions and cements what we learned in our memories. It’s also simply useful to refresh your memory later!
For these reasons, we’ll spend this lab creating a personal page, and then learning to write a blog post about what we learned.
Github (https://www.github.com) is a web service for storing and sharing code, along with a huge number of services surrounding that code. It uses a tool and protocol called git https://git-scm.com/ to store and retrieve that code. Github Pages https://pages.github.com/ is one of the services Github provides for publishing personal and project websites from your Github account.
This lab is a basic introduction to Github Pages, building on what you have already learned about git in past labs; learning all that git, Github, or Github Pages has to offer could take months of practice!
Part 2: Creating a Website with Github Pages
This section will show you how to create a site with Github Pages.
There are written instructions with screenshots below you can follow, and also a video. This demonstration was reorded for 15L, and you do not need to worry about lab reports and should name your repository whatever makes sense for your website.
Create a Repository
On your github account, we are going to create a new repository on Github. Throughout the quarter, we have provided repositories to you via a link to the repository on github which you were able to clone, or a github classroom assignment which creates a repository for you.
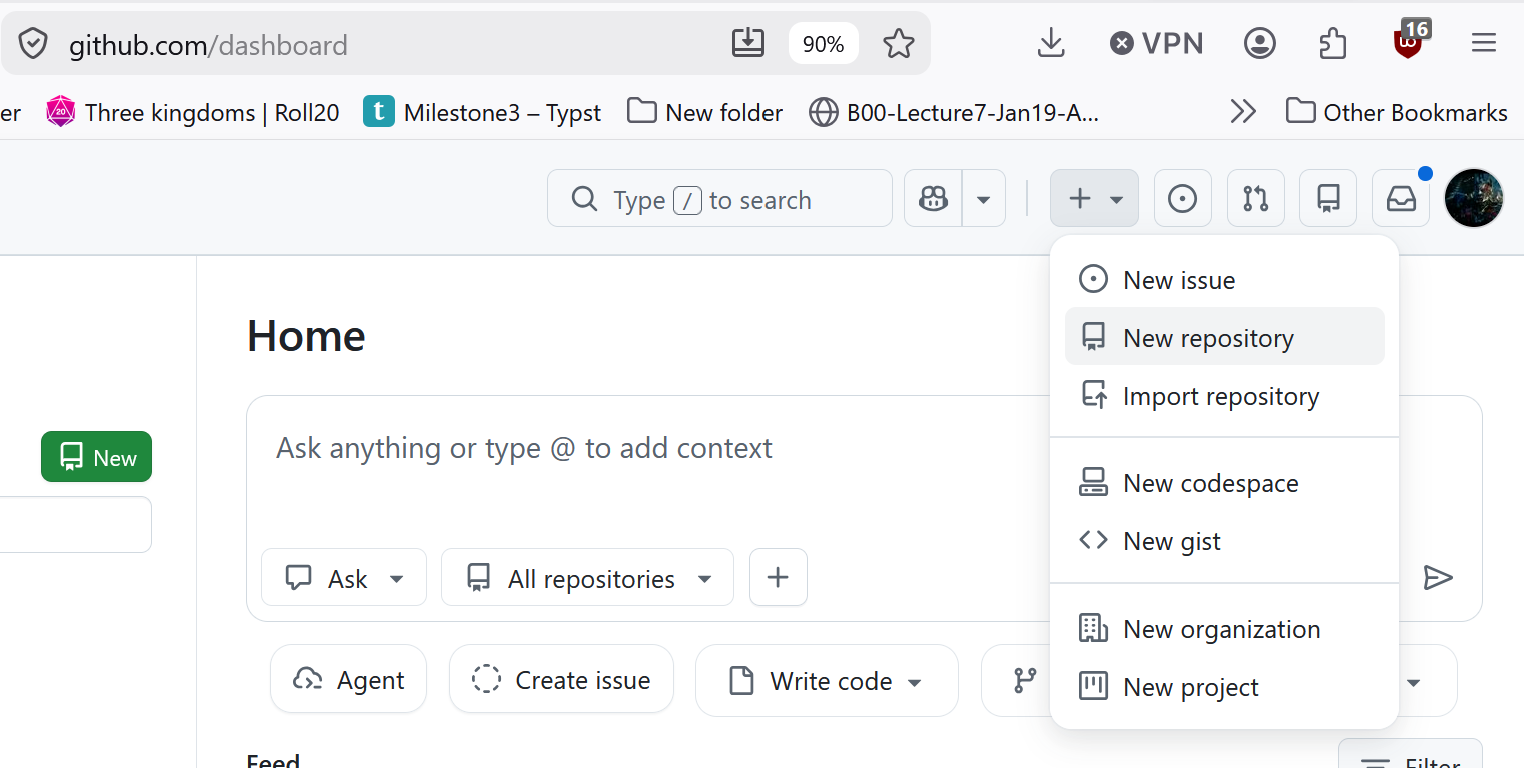
Name the repository something fitting, as it will be in the url to get to your website. Leave the other settings as they are, and click “Create Repository” at the bottom.
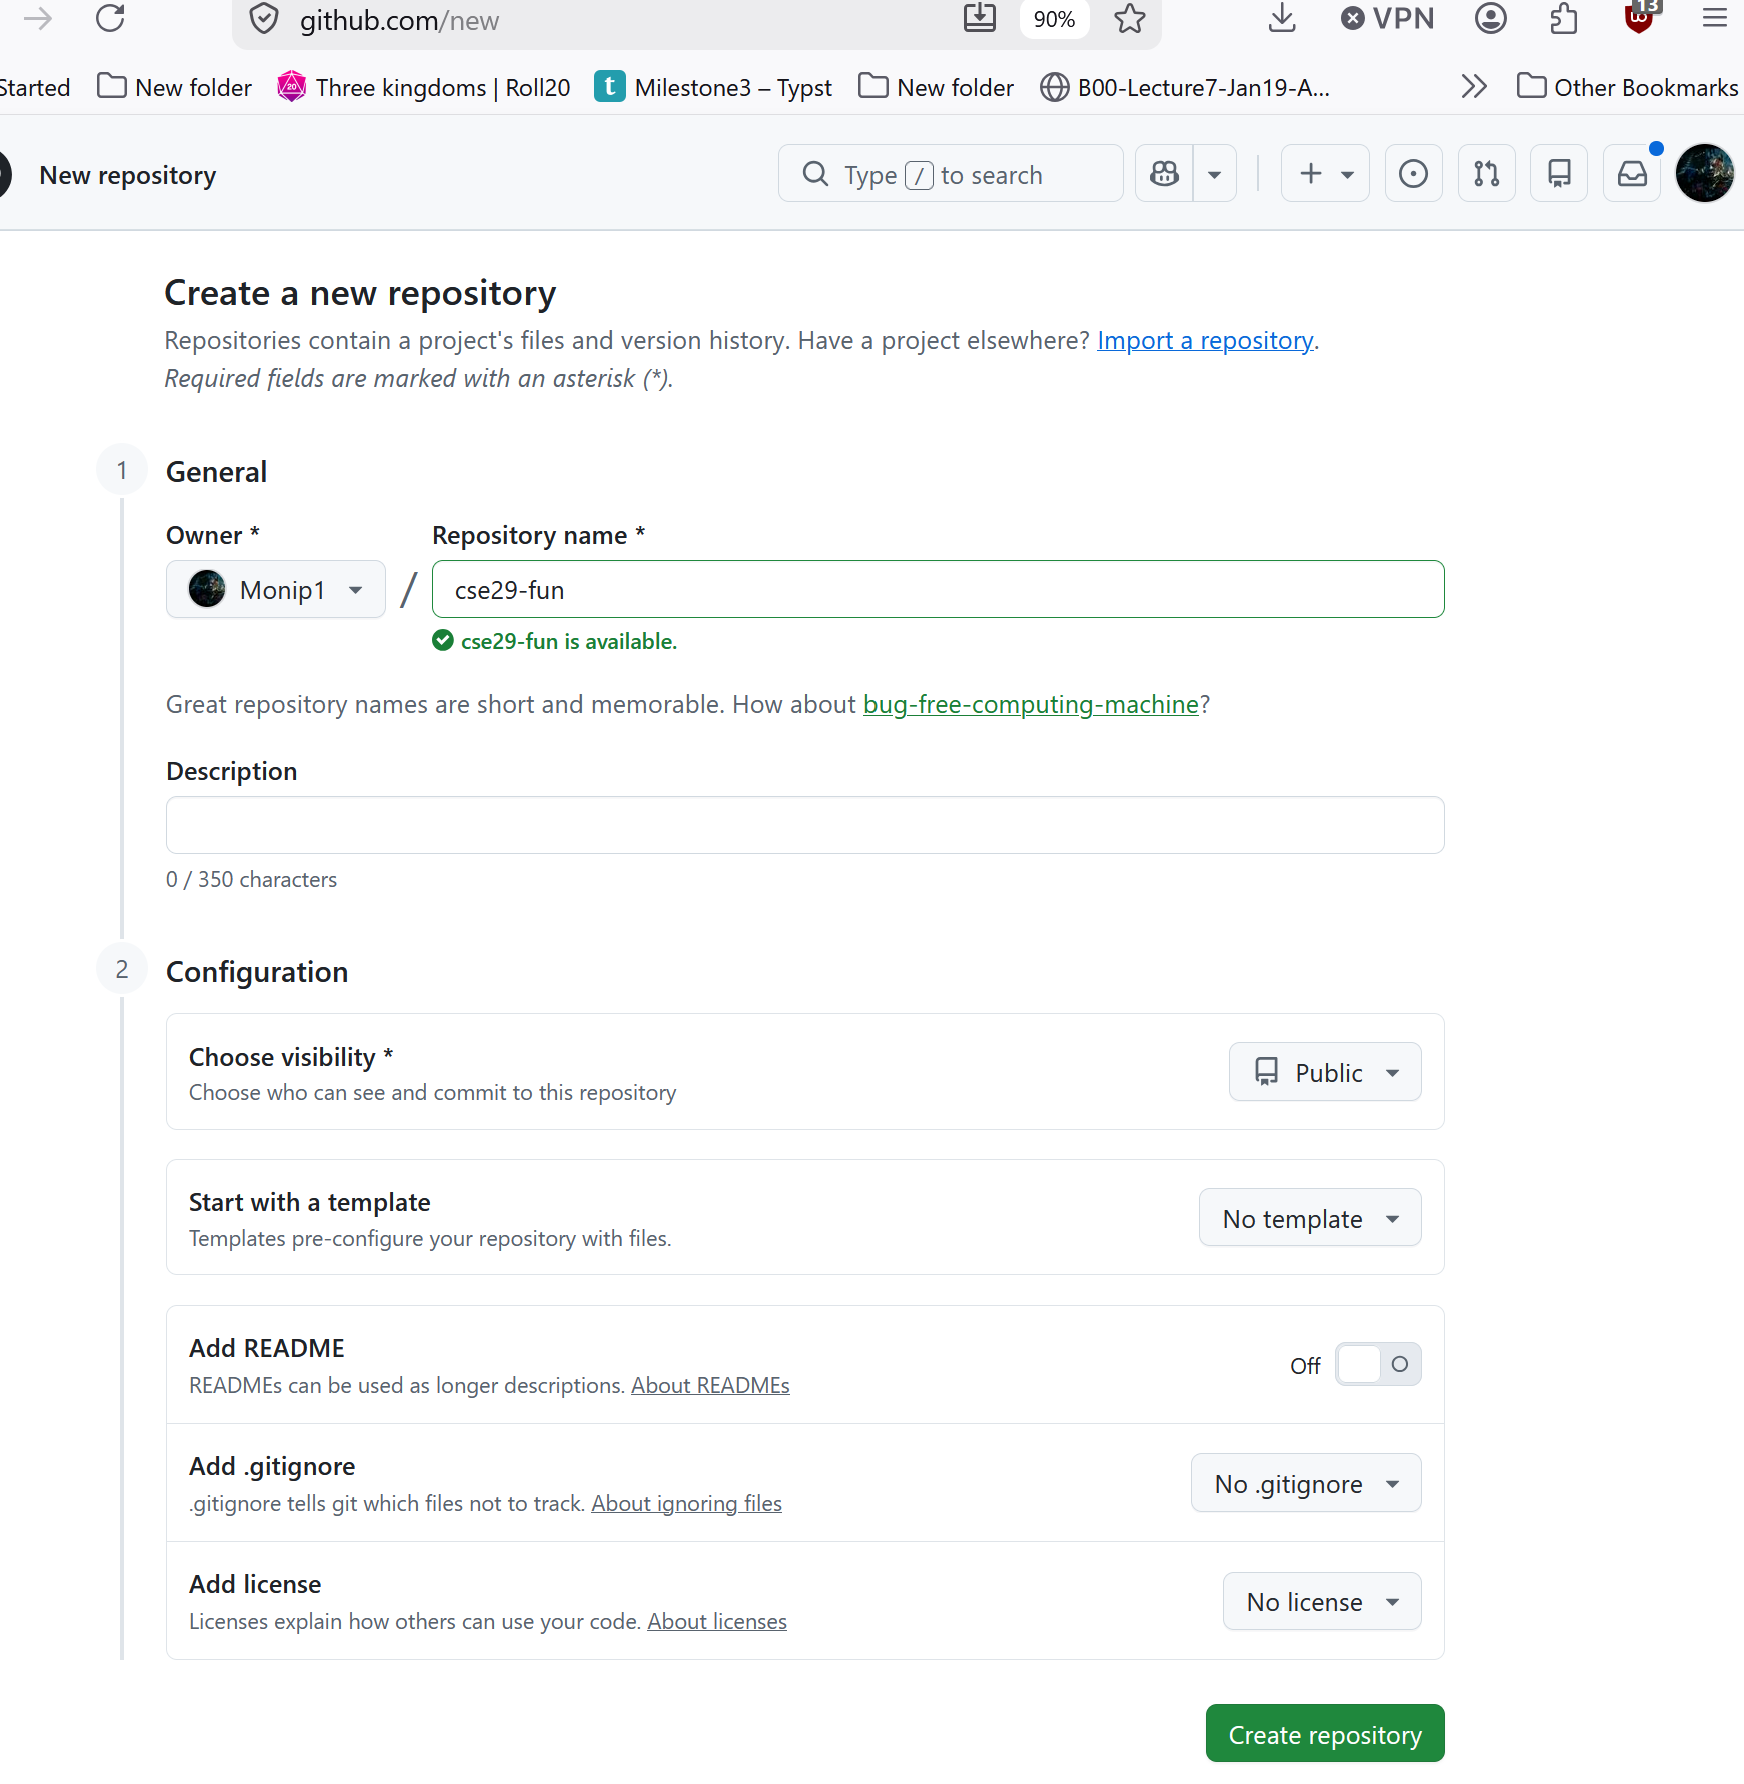
You should see a screen like this (but with your username and repo name):
It is at this point that you could copy the ssh link from the blue box in the middle to clone the repo and edit it how you’ve edited any github assignment for this class, but now we can learn another way to add and edit files without ever leaving github.
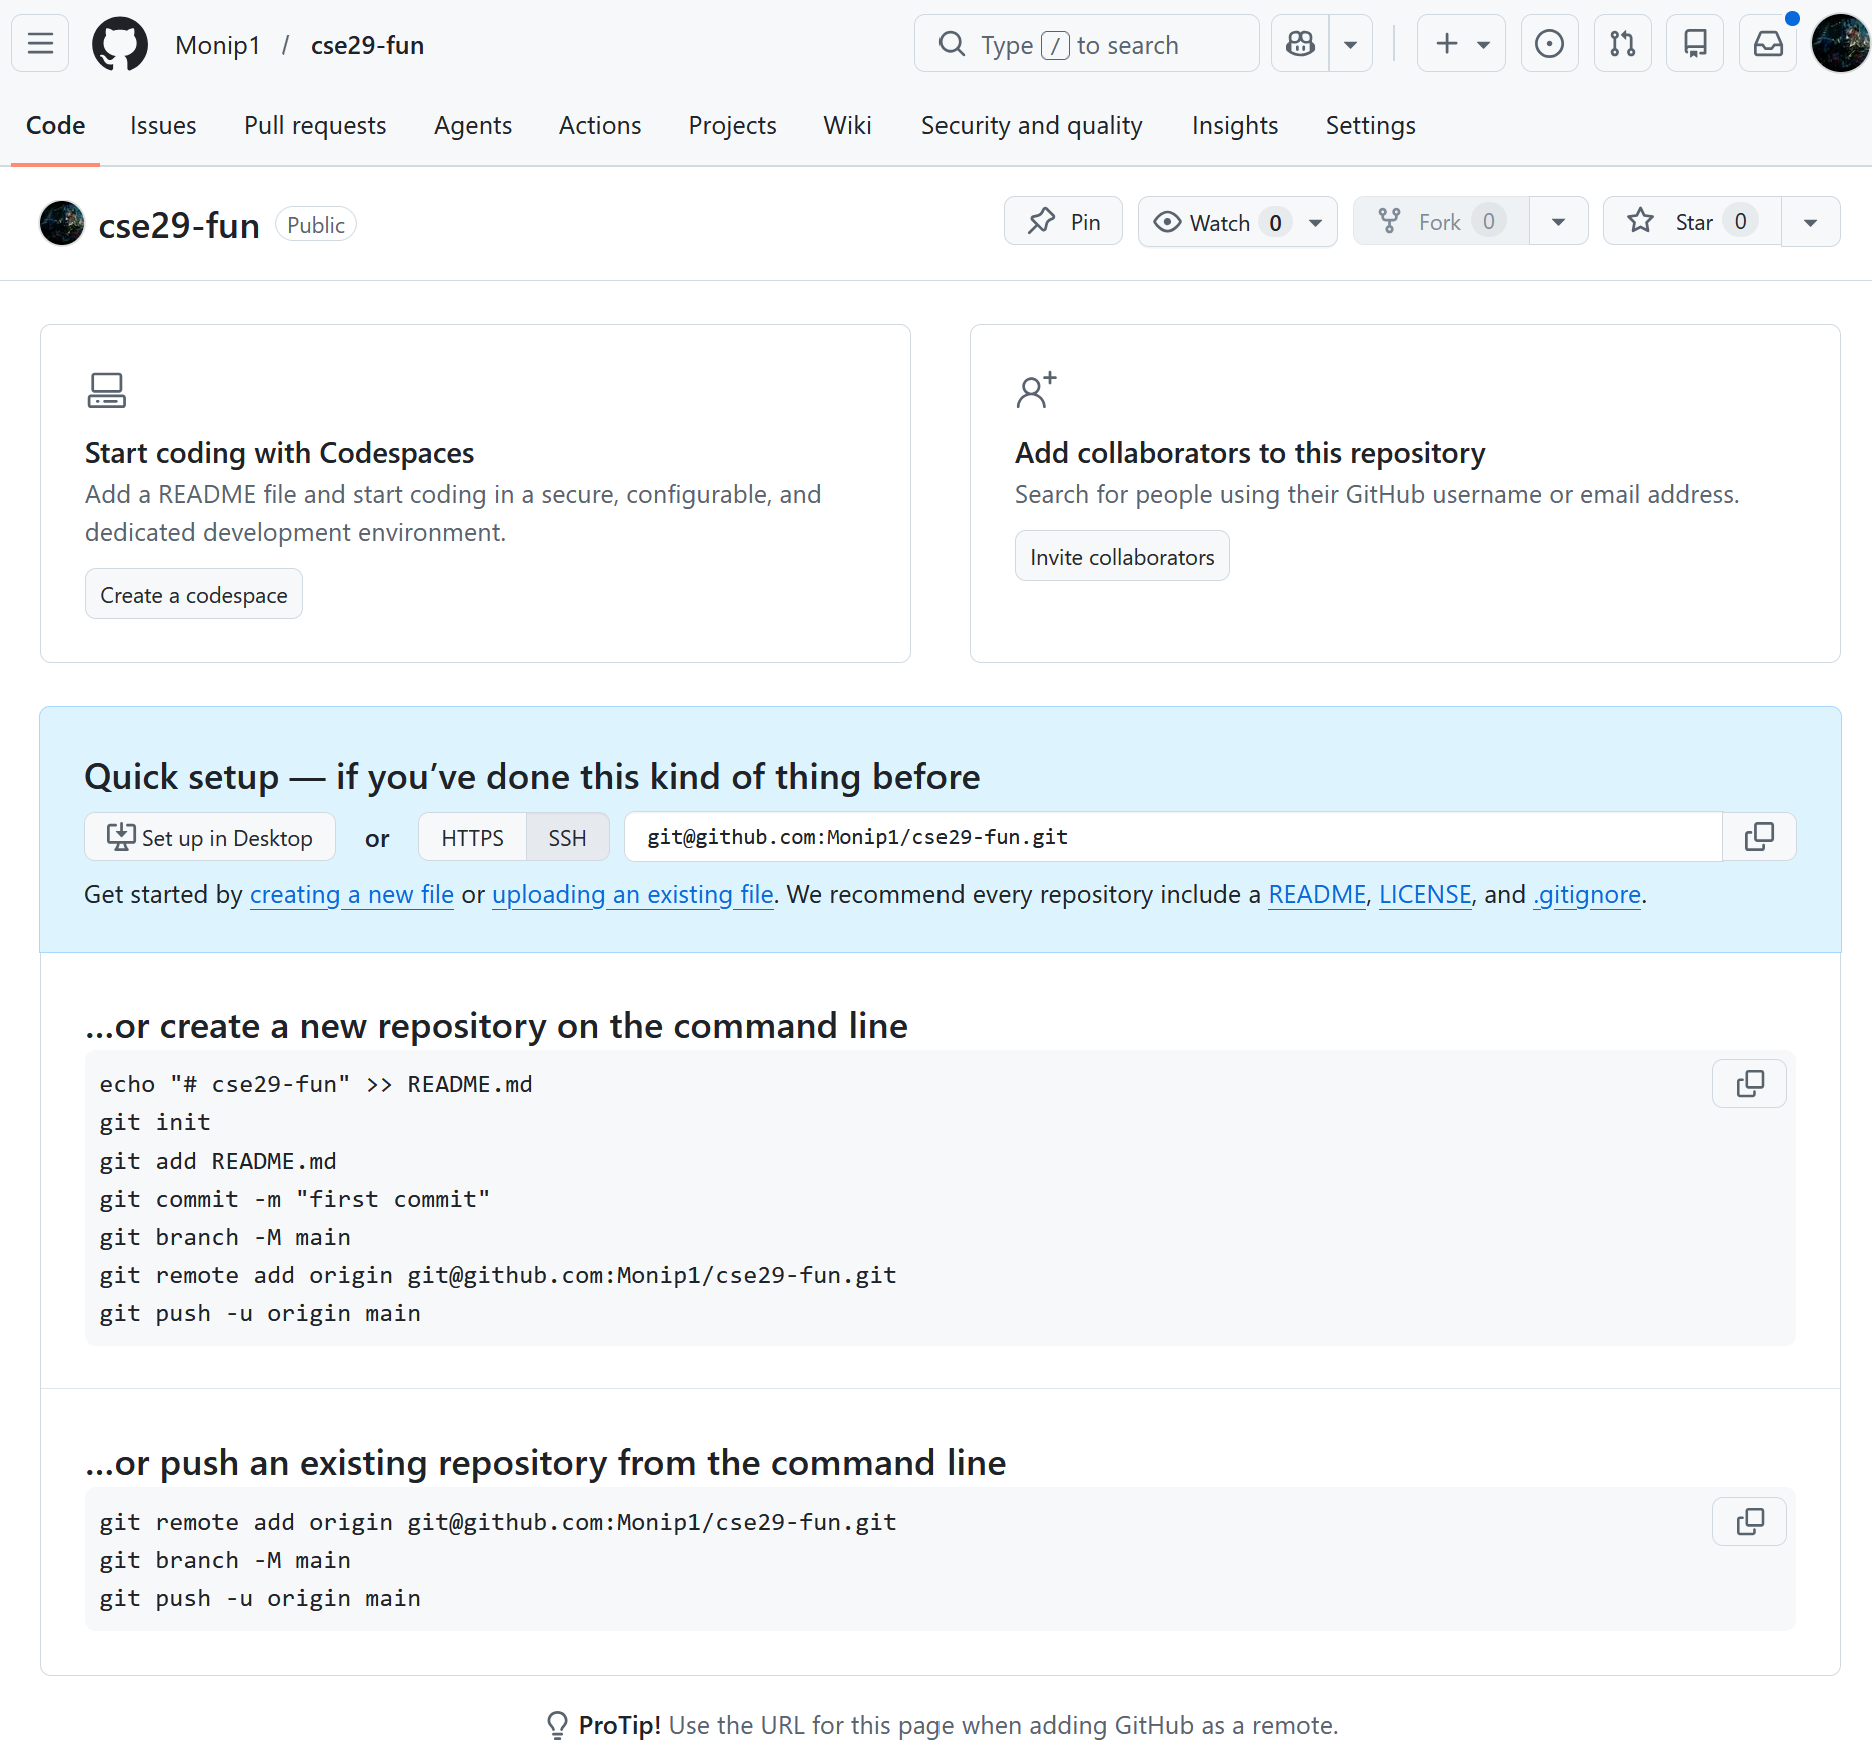
Click the “Create a new file” link (small, in blue, beneath the “Set up in Desktop” button). Make a new file called index.md, and put some text in it (whatever you like).
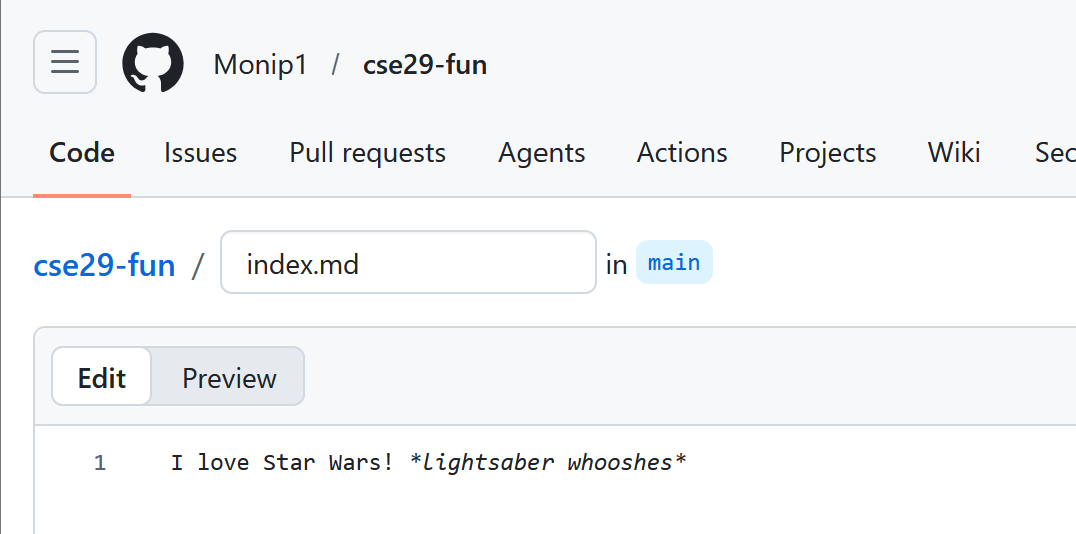
At the top right of the screen you should see a green button with “Commit changes…” written on it. Click it and then type in a commit message (or accept the one copilot will surely give you), something like “created index.md” will do. Now click the green “Commit changes” button. You should see a view of your repository that now lists a file called index.md.
You have a public Github repository with some text in it! You could copy the link from your browser and send it to your friends and family to view! But wait… it will get cooler and more sharable.
Making a Pages Site
Next, click on “Settings” at the top of your repository, and then choose the “Pages” option in the sidebar:
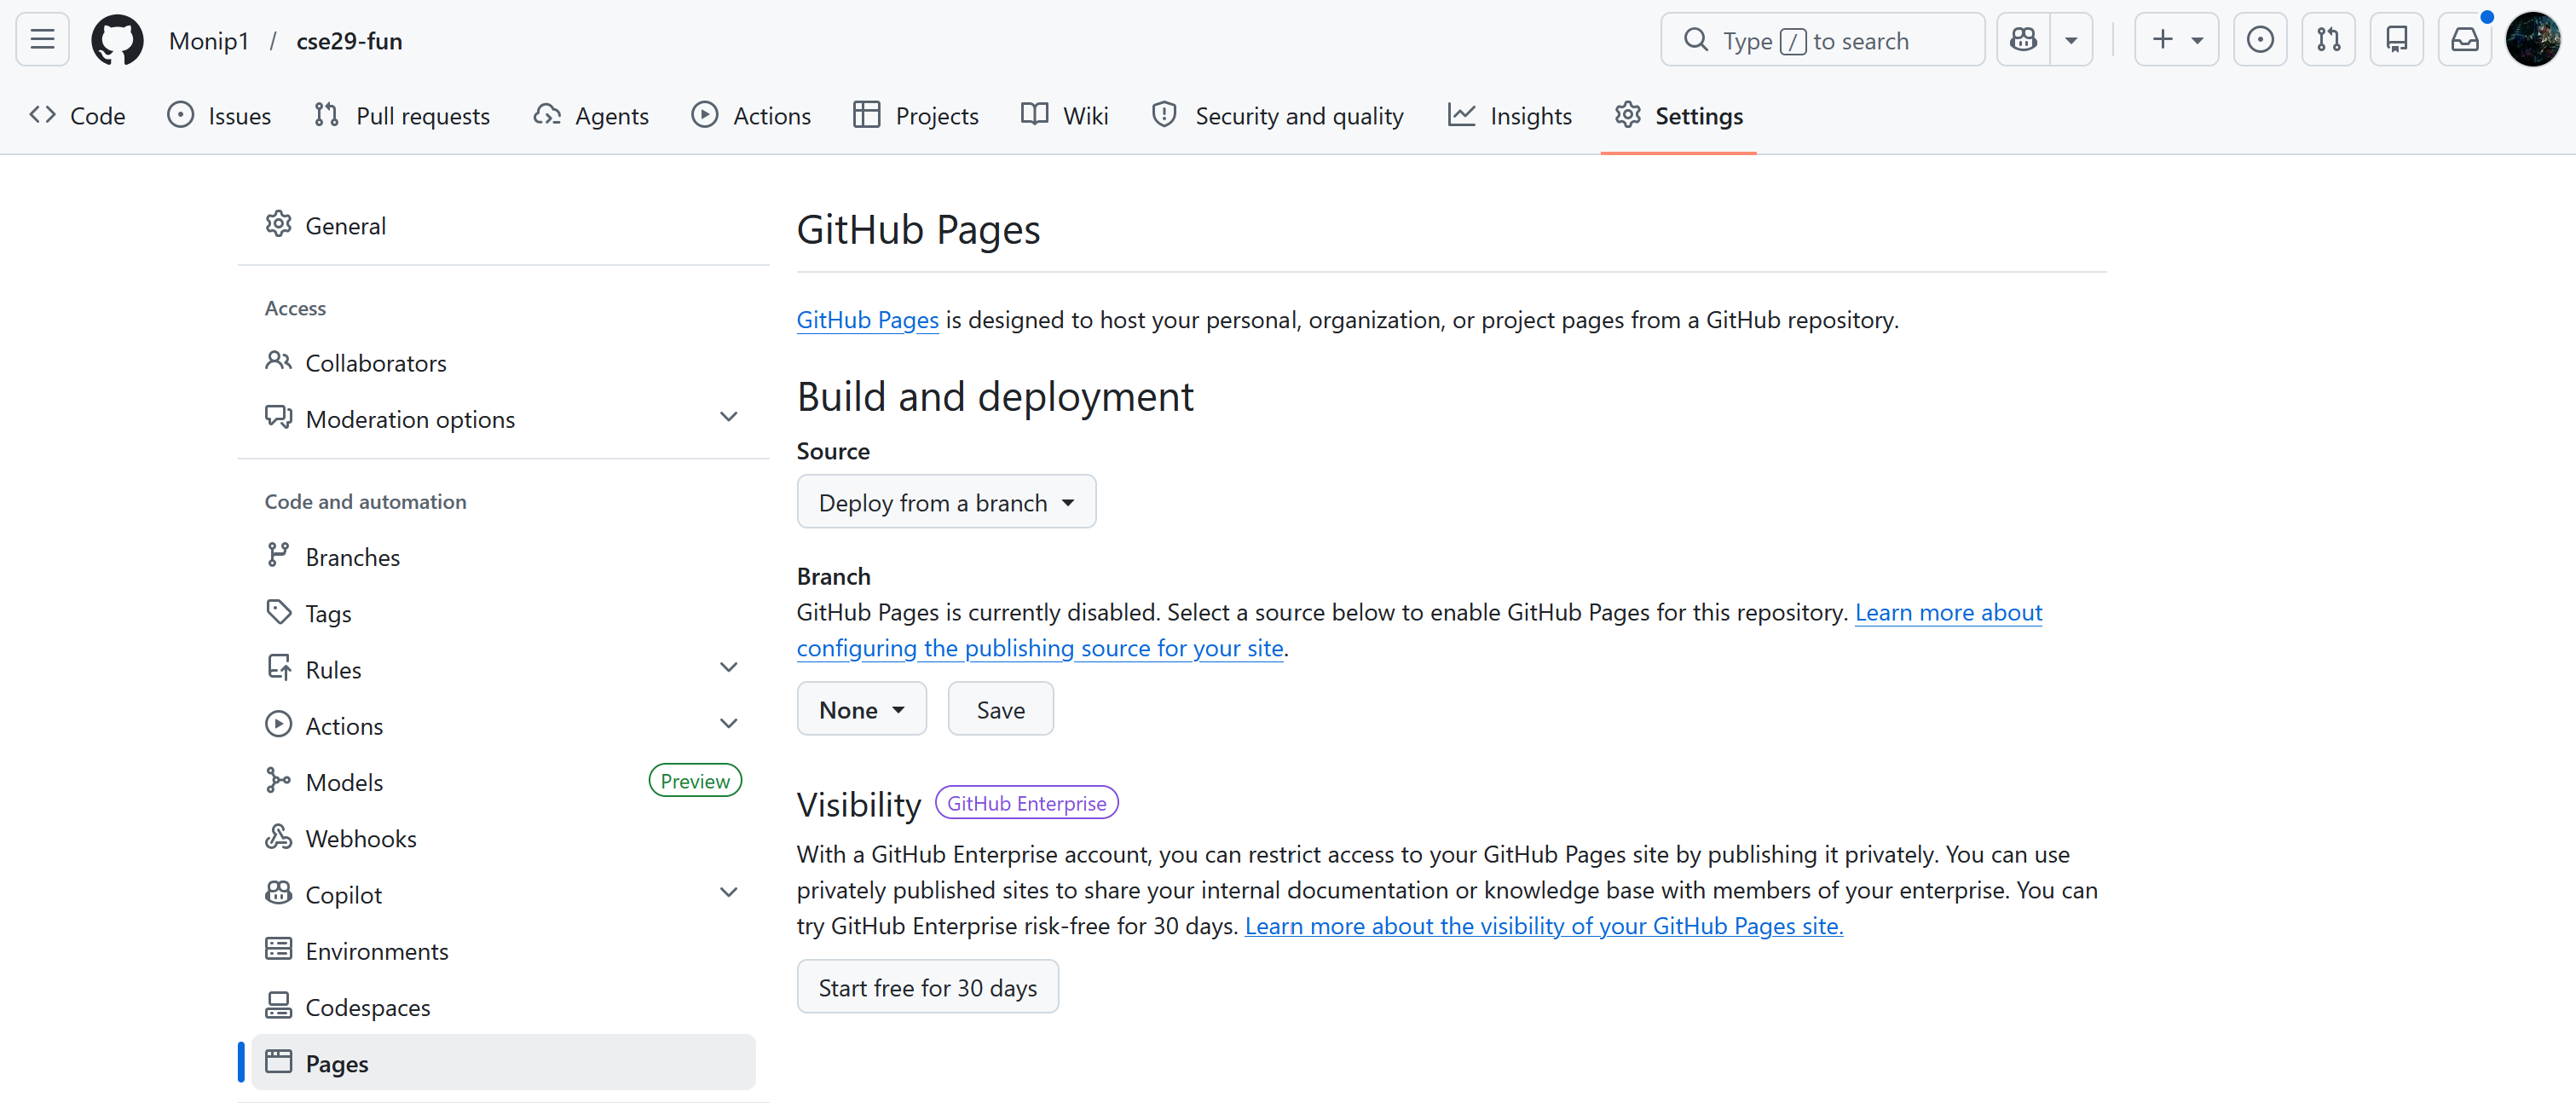
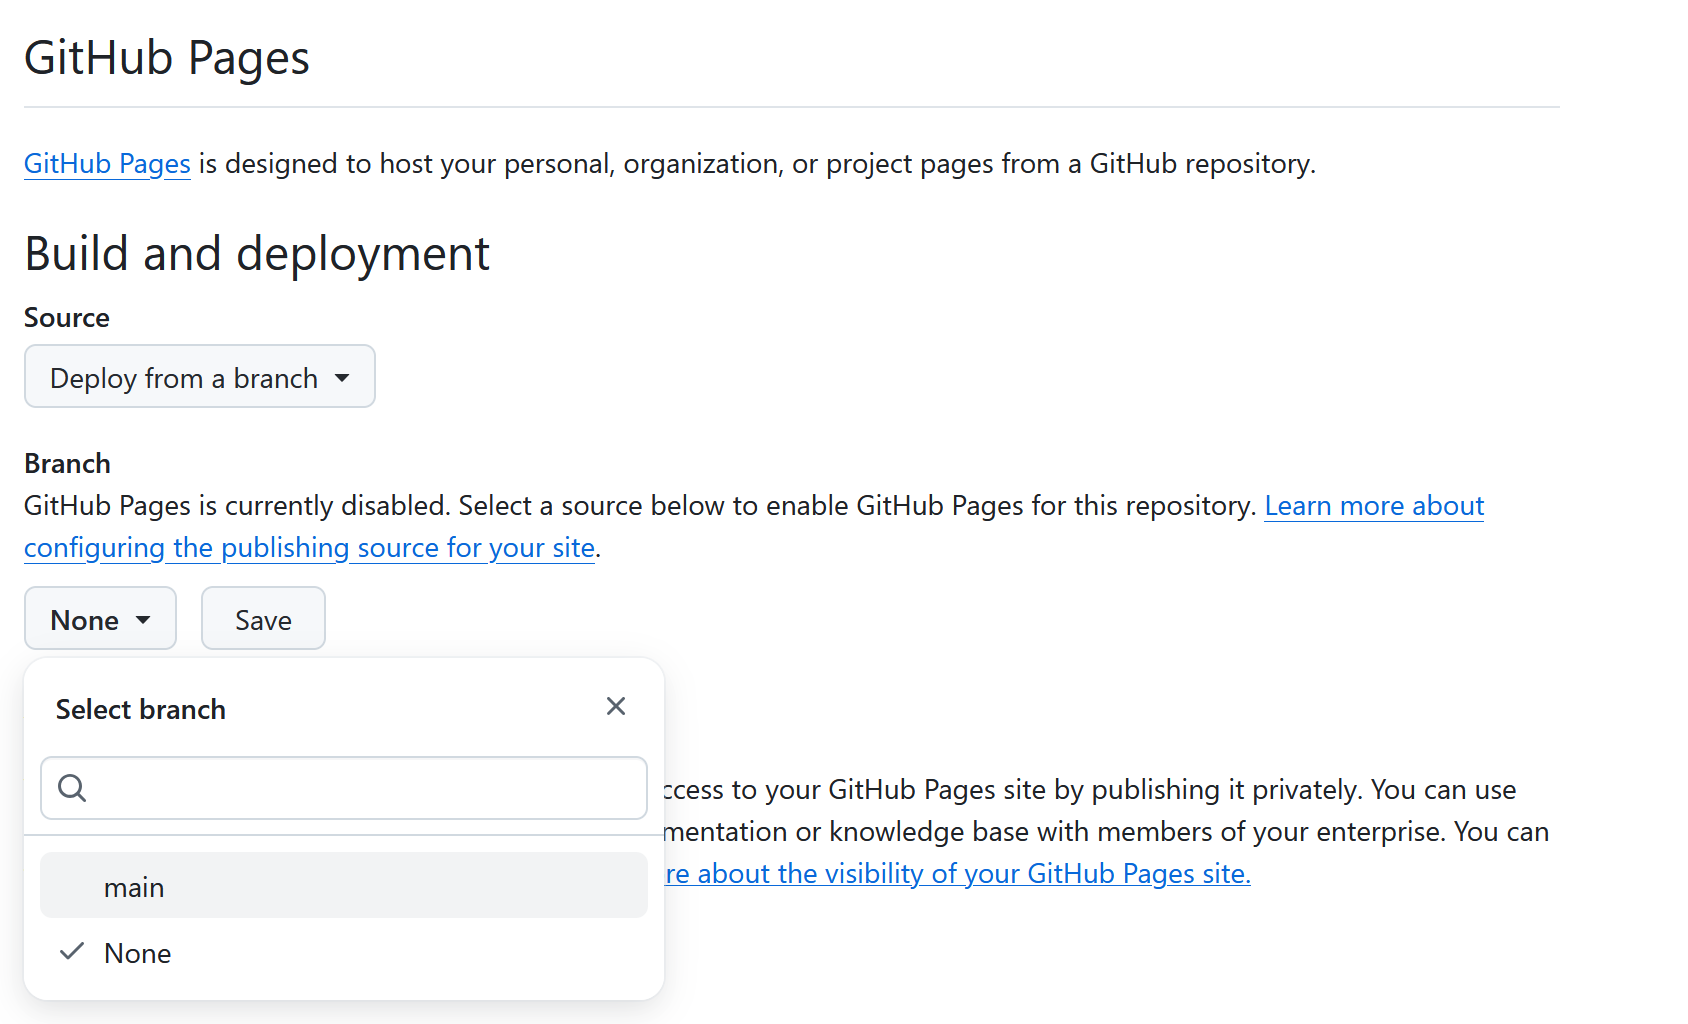
Choose main as the source for Github Pages, and click “Save”.
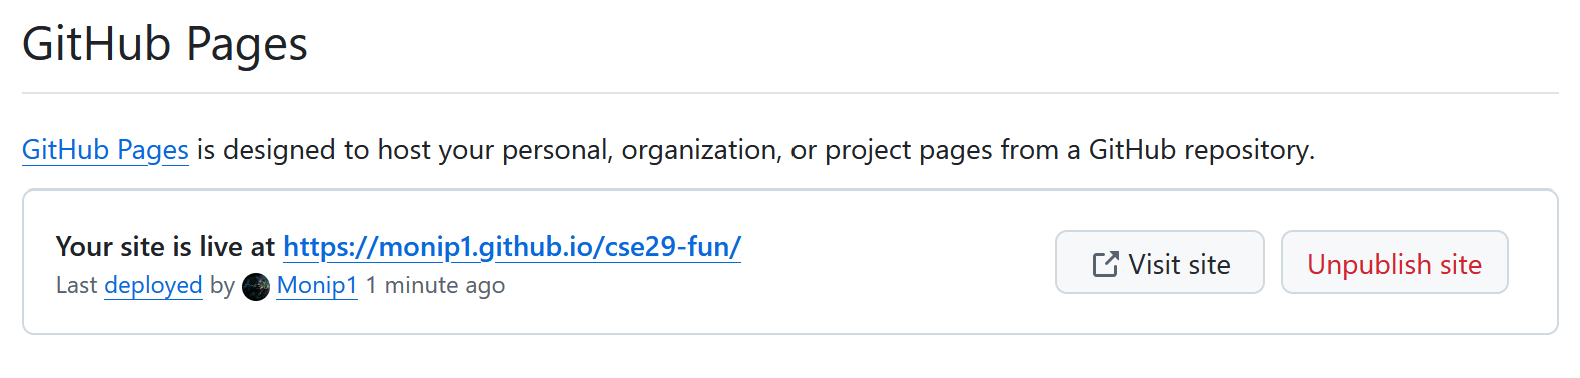
At the top it’ll say “GitHub Pages source saved”. Wait a bit and refresh the page. Eventually you’ll see a message that says “Your site is live at <url here>.” (This can take a few minutes!) Click the link that’s shown there; at first it will say the page isn’t found. Wait a few minutes, then refresh the page. Then you should see the text you wrote show up on a page like this:
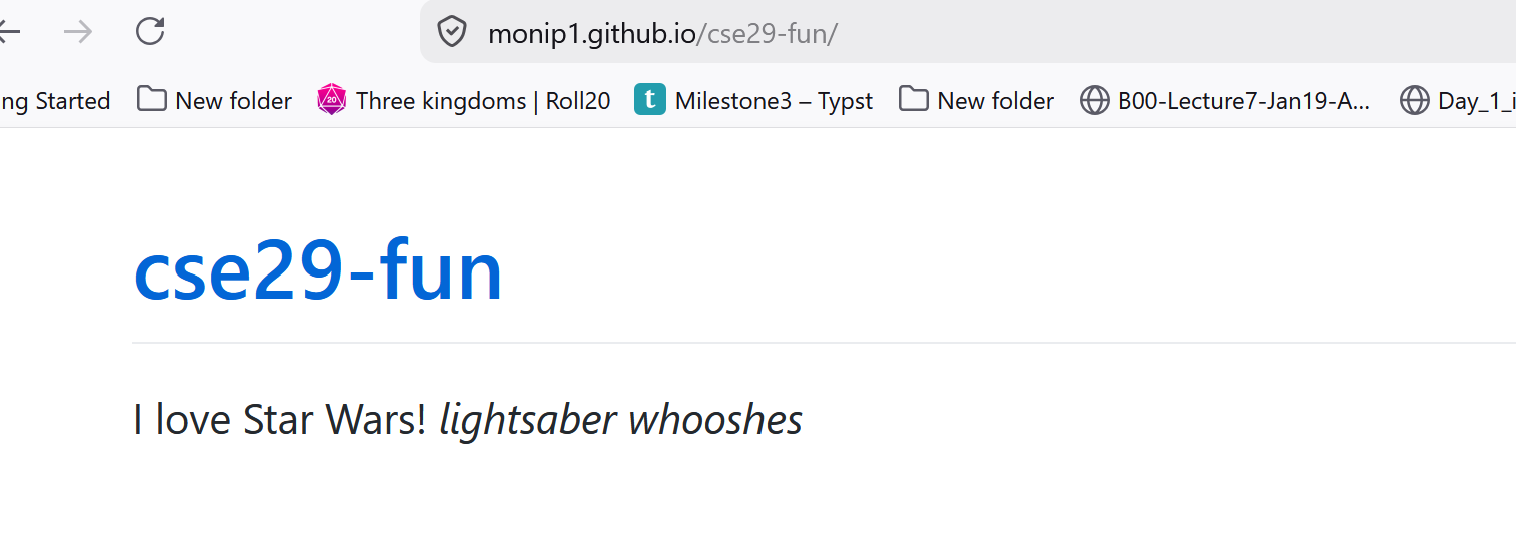
Note that in addition to seeing your file at, e.g, https://monip1.github.io/cse29-fun/, you can also see it with index.html added to the end of the URL: https://monip1.github.io/cse29-fun/index.html (Try it!).
Something interesting that can now be done is many files can be added. If you recall from lab 1 where we had a people directory that included all of the staff, you can now see those data.md files because that entire directory has been copied in at the top level next to index.md. i.e. https://monip1.github.io/cse29-fun/people/TAs/Elena/data will show you Elena’s nicely rendered markdown file.
Adding .md to the end of that https://monip1.github.io/cse29-fun/people/TAs/Elena/data.md will allow you to see the raw text of said file.
Add another file to your repository with any name you choose, but end it in the extension .md. Can you use this idea to see that file?
Editing Markdown
The .md extension stands for “Markdown,” which is a particular text format used for writing. There are many good documents on the web. A good cheat sheet and explainer are here:
Skim both of those documents, then try to use some of the elements described in the cheat sheet in your index.md or your new file (or both). How do some of the different formatting options show up when you use them? Are any surprising?
You should now have:
- A repository with at least two files (
index.mdand another one you made up) - In one of those files, a use of each kind of basic Markdown syntax
- A page that shows the rendered version of your Markdown text at a public URL
Congratulations – you now know how to make a (simple), public-facing website with basic formatting! You can share the link to your page with anyone in the world with an internet connection, and they can see your page.
the page you are reading is written in Markdown and uses Github Pages!
Images in markdown
Another video you may want to watch from our much appreciated Spring 2024 CSE15L staff on images in markdown.
Images are added using the format: 
- the description can be any string you’d like, but ideally something useful in the event the image does not properly load.
- the link can be either a link to an image online, or a link to an image stored in your repo where you give it the relative path. If you make a folder called
imagesnext toindex.mdand adddog.pngto saidimagesfolder, then you could add the image to yourindex.mdby adding the line
Part 3: Fun with Github Pages
As mentioned earlier in the lab, these tools can be used for very serious things like portfolios, but to help build the toolset of getting comfortable with markdown and structuring the site, your task is to make something fun or interesting to you during this lab time.
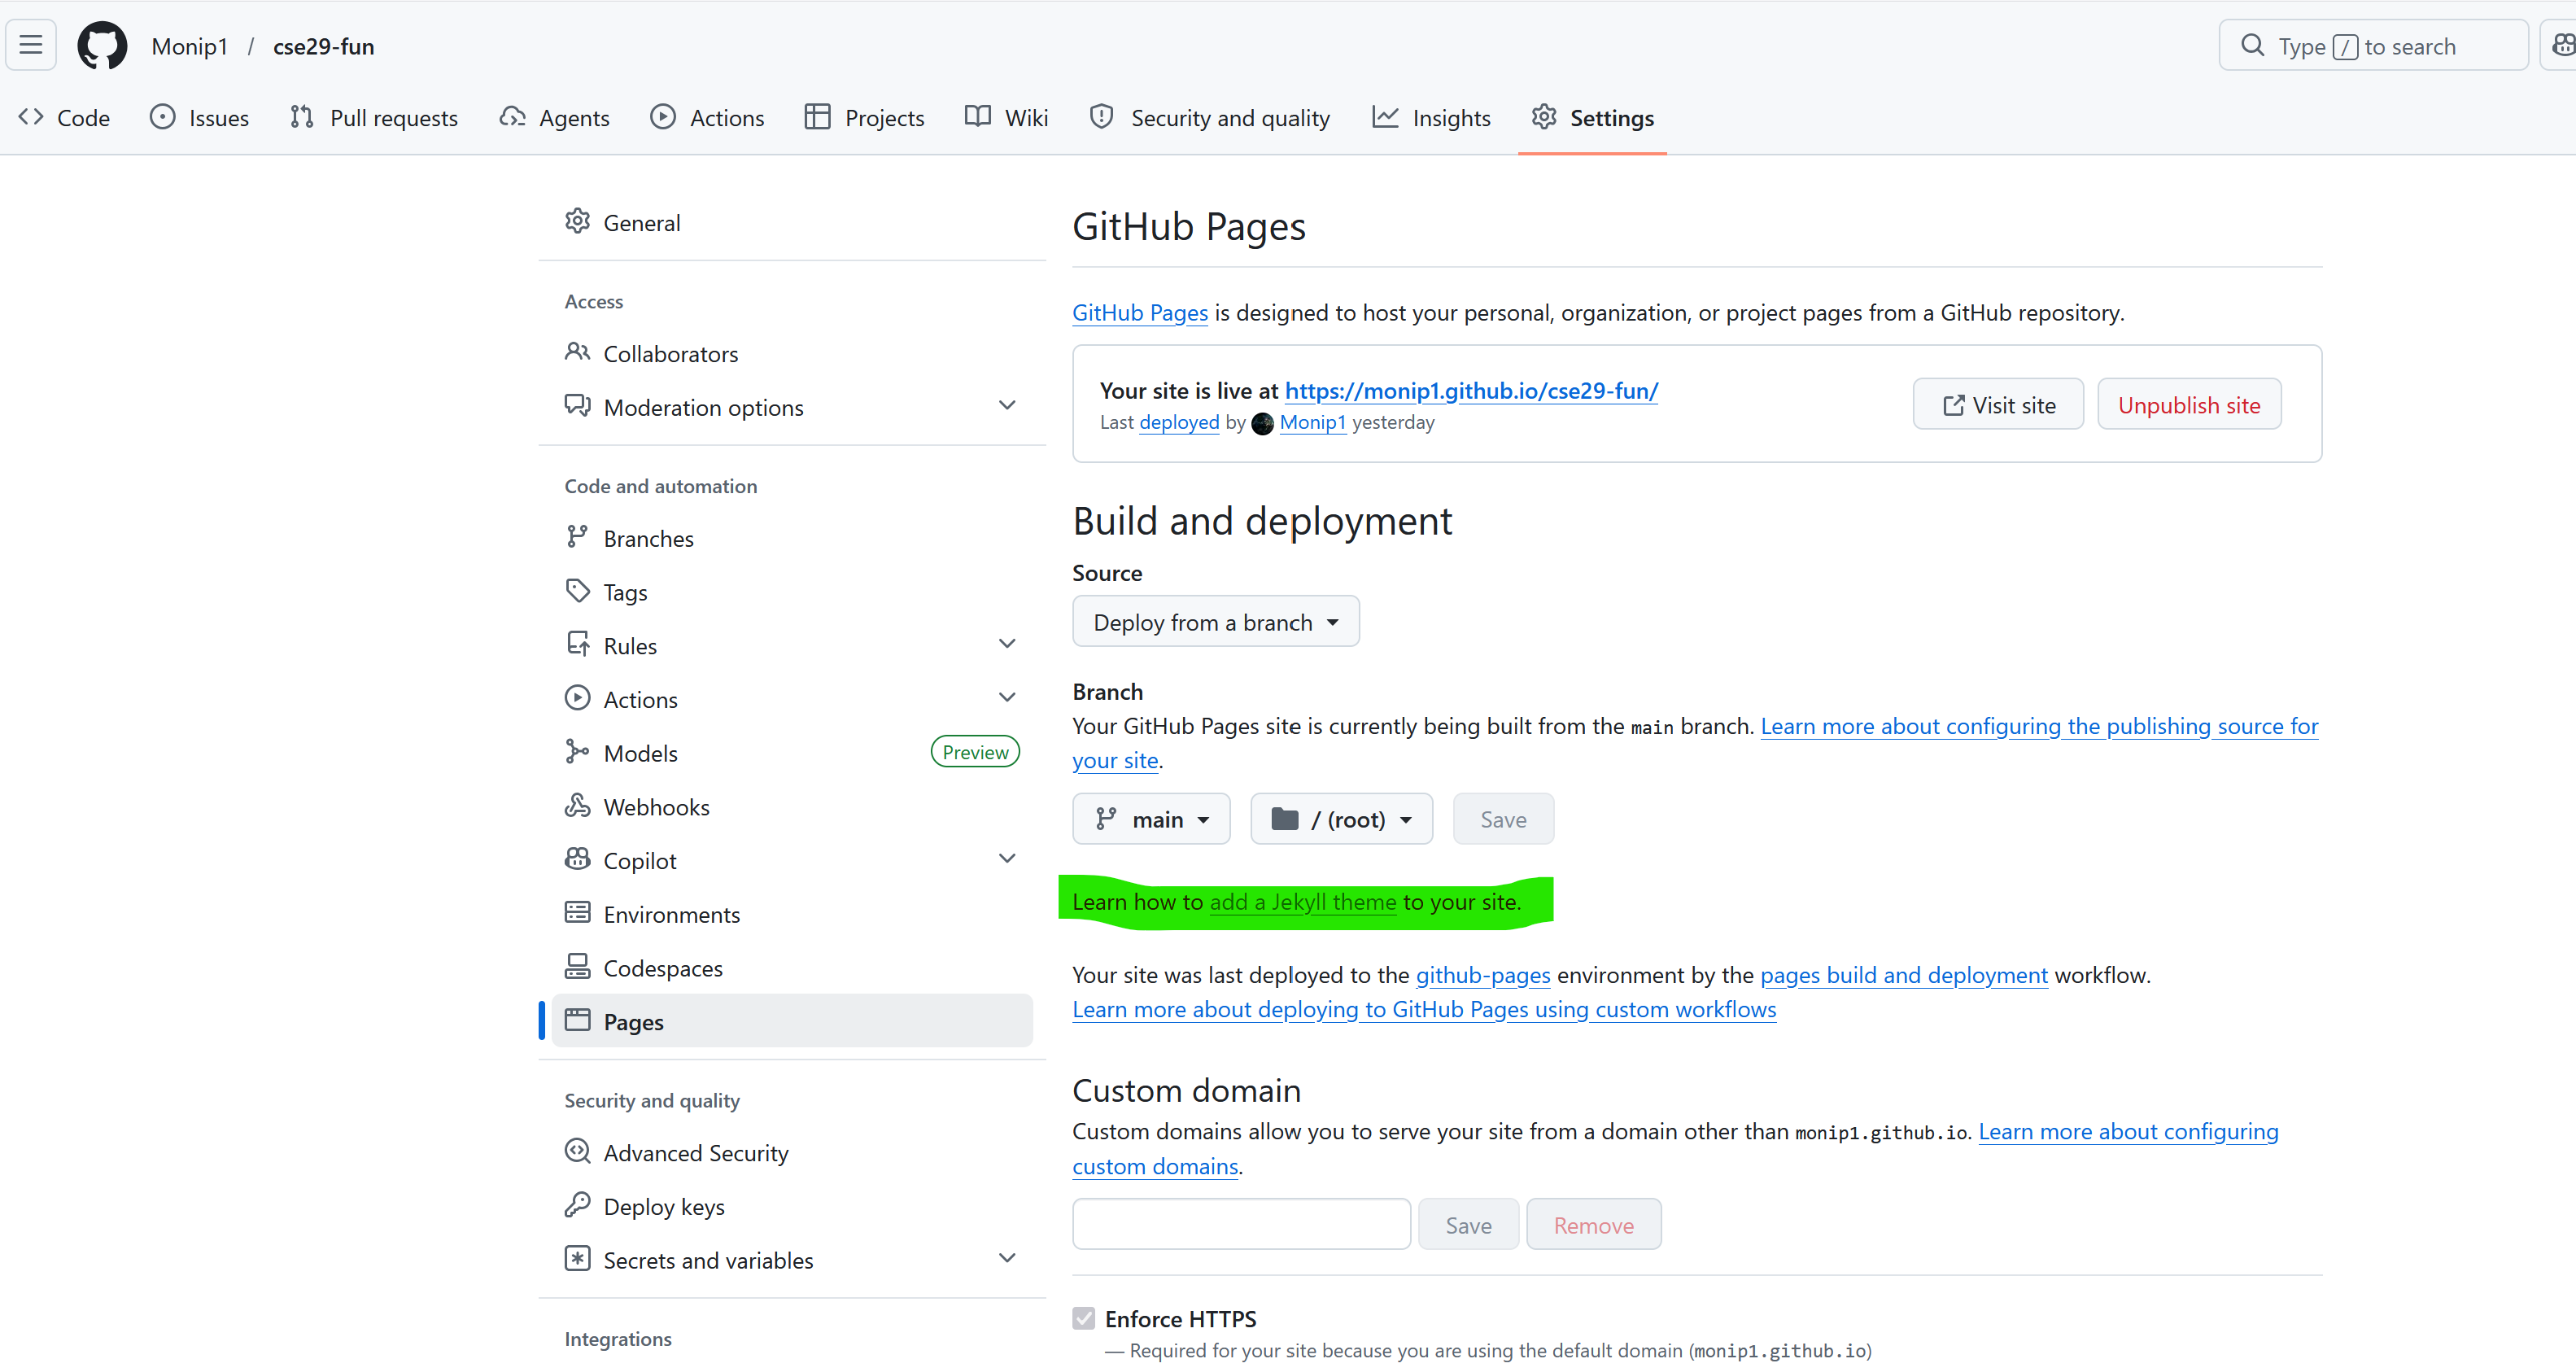
If you would like to make it more custom and interesting, you may want to consider using jekyll, which you can find info on by going to Settings -> Pages and then clicking the “add a Jekyll theme” link highlighted in the image below.
If you are at a loss on what to do, consider:
- make a loop of pages with 1 home page. ie
index.mdhas a link to a second page, which has a link to a third. - a page on something you enjoy (some sport or hobby)
- incorporate back buttons on your pages to get back to your
index.mdor otherwise
If you would like any inspiration, Elena has provided her 15L reports repo, which serves as an example of what is possible with the handful of tools you have learned (mostly links and pictures) throughout the course of the quarter’s worth of 15L labs and one lockdown-induced late night session of possible insanity in about week 3 of said quarter.
Next Steps
- if you think you’ve completed your site, you probably haven’t.
- Please also fill out your set evalutaions and IA evaluations!. https://academicaffairs.ucsd.edu/Modules/Evals/
- if you truly have finished your website and it’s already perfect, then:
- PA 4
- prep for final
Future workflow setup.
While vim is very useful for when you only have a command line available, there exist other slightly more modern ways of editing code. VSCode is a very popular editor and you will likely use it at some point in your career. We have also provided how to install git on windows as it is a very useful tool to have readily available. Codespaces, which allow you to use a VSCode environment from a browser to edit your repo is also provided. All following resources are provided by 15L Spring 2024.
Go to the Visual Studio Code website https://code.visualstudio.com/, and follow the instructions to download and install it on your computer. There are versions for all the major operating systems, like macOS (for Macs) and Windows (for PCs).
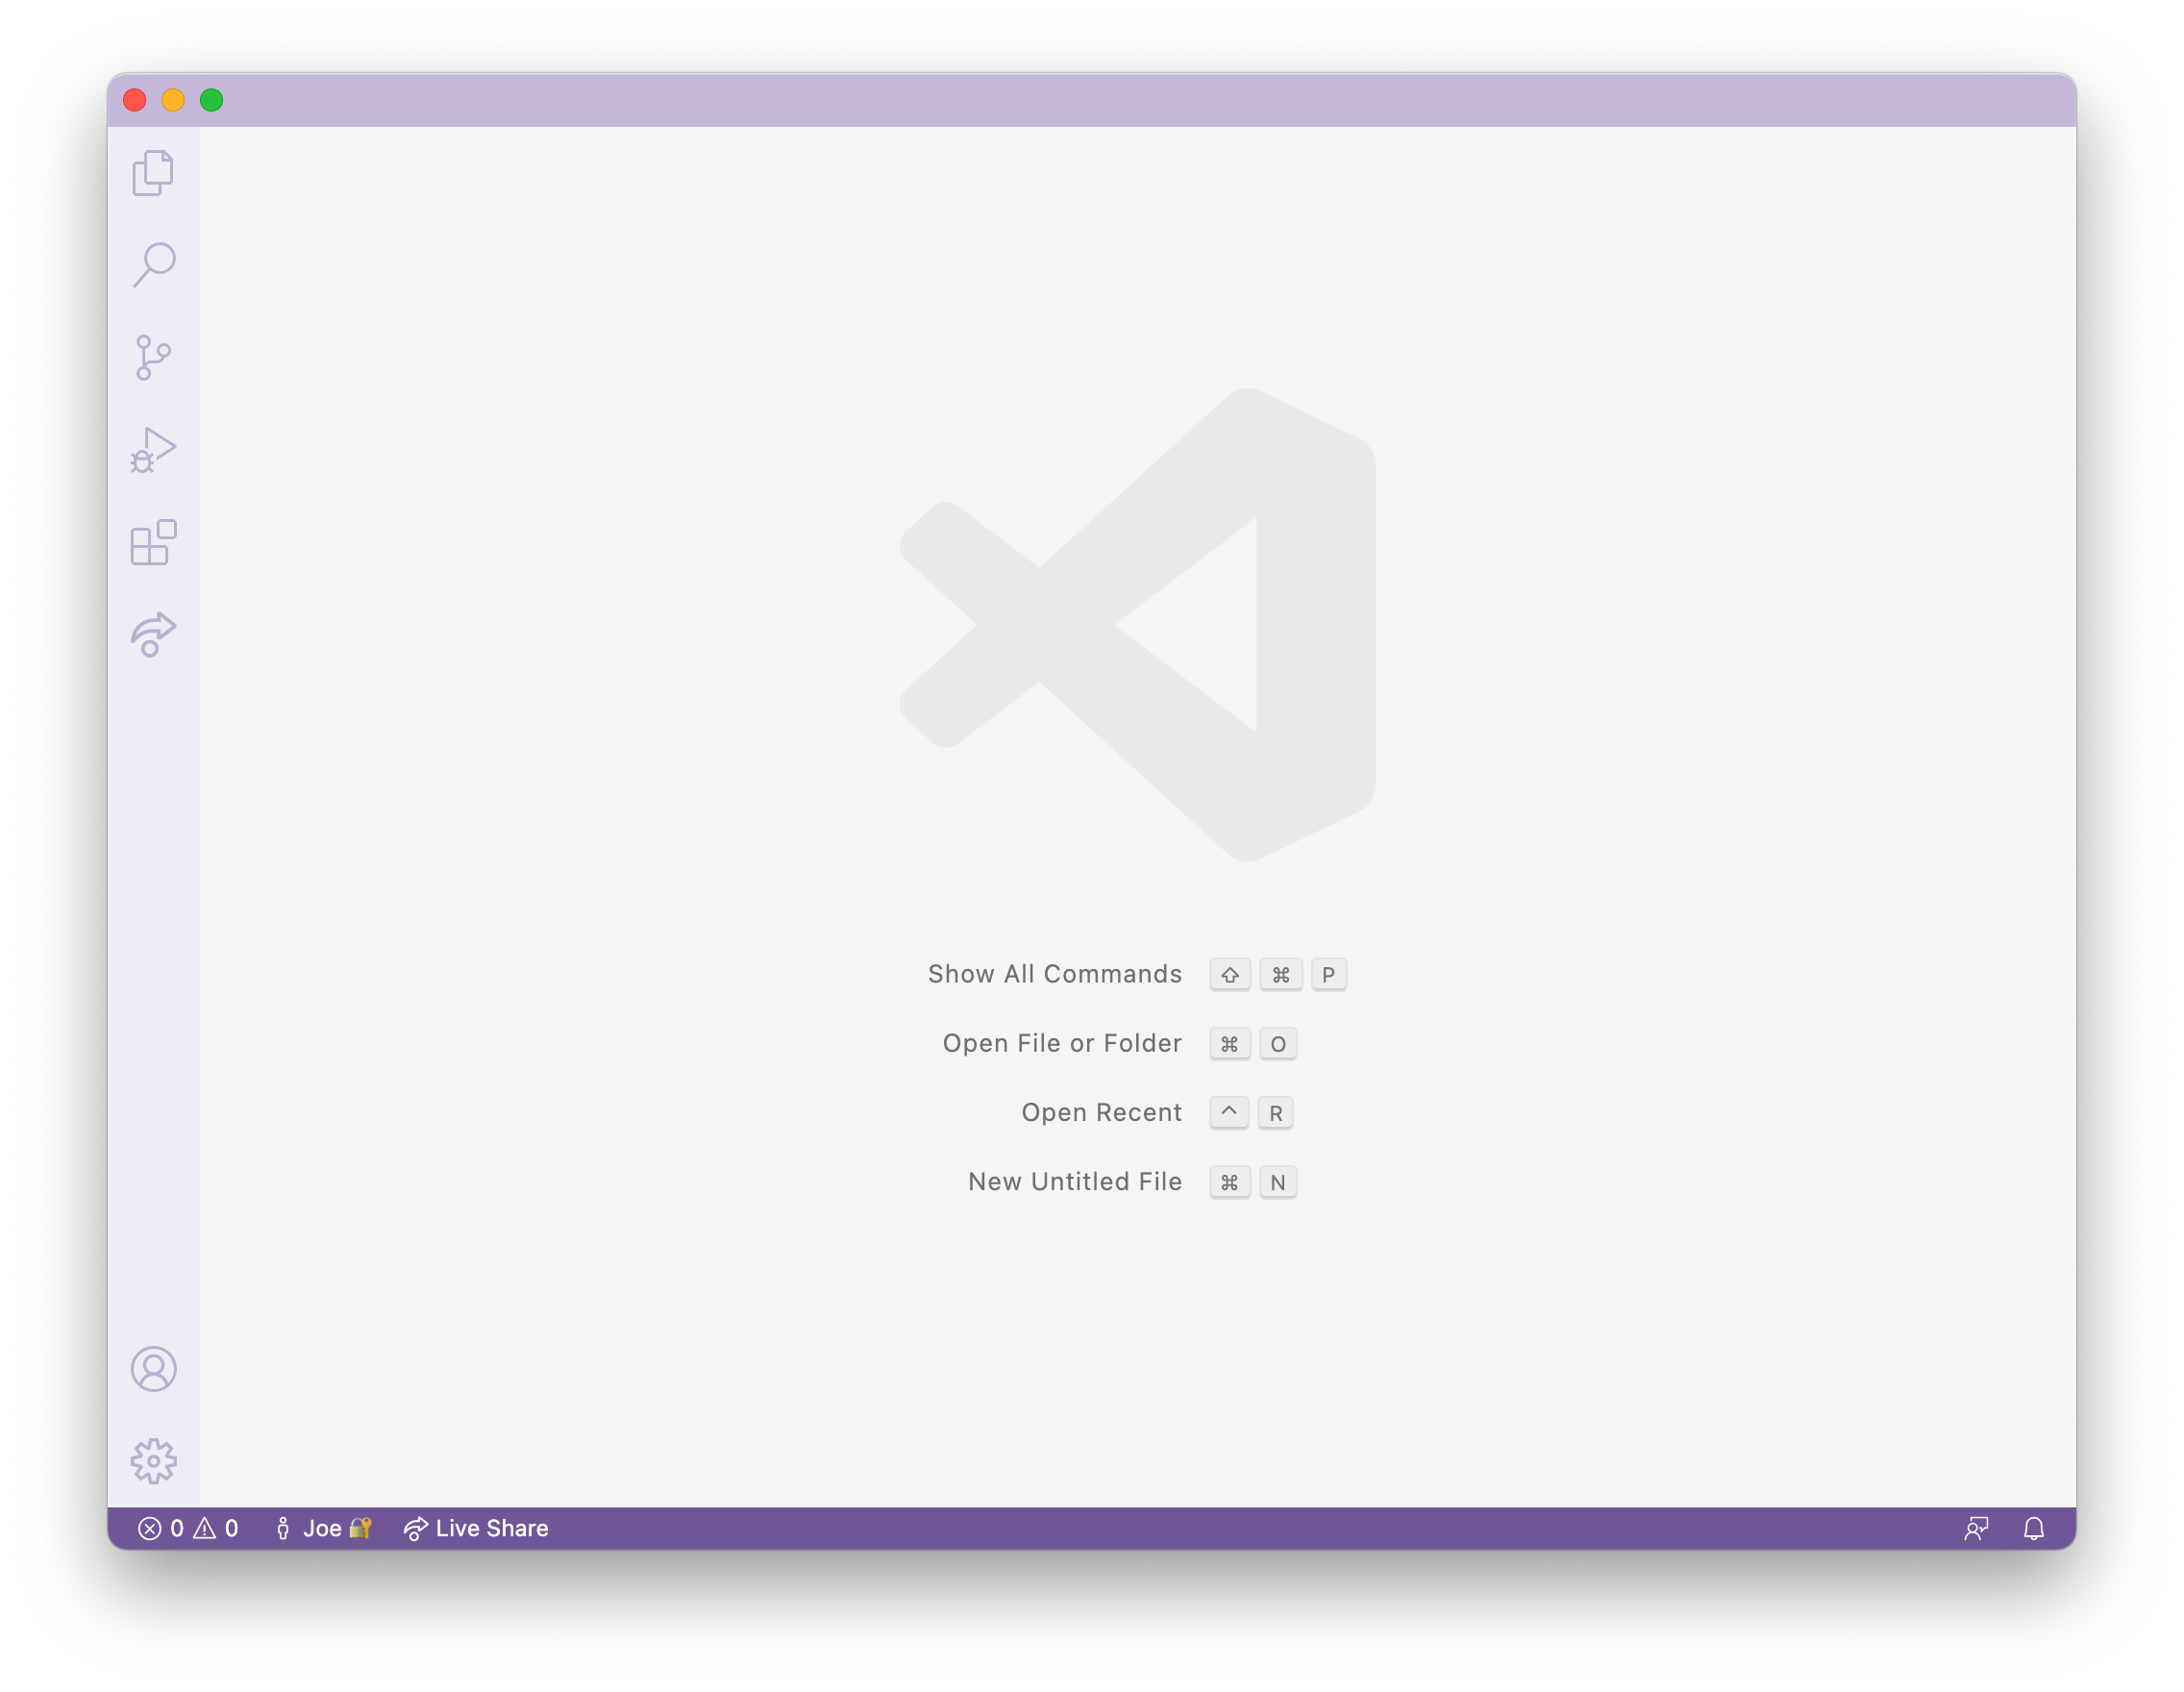
When it is installed, you should be able to open a window that looks like this (it might have different colors, or a different menu bar, depending on your system and settings):
Then if you’re on Windows: install git for Windows, which comes with some useful tools we need:
Once installed, use the steps in this post to set your default terminal to use the newly-installed git bash in Visual Studio Code:
Using Bash on Windows in VScode
(That’s all the special instructions for Windows users).
Then, to run commands, open a terminal in VScode. (Ctrl or Command + `, or use the Terminal → New Terminal menu option). Try running some of the commands we learned in earlier labs and lectures on this computer.
Codespaces
Alternative way of working with a GitHub repository
There is an alternative way of working with our repository, and we highly recommend you try working with GitHub Codespaces (which comes with the GitHub Student Developer Pack)! More documentation is available here. It is an online Integrated Development Environment that allows us to work with our code directly online!
Important Note: Make sure you apply for your Github Student Account in order to get access to the codespaces.
(Only if you set up GitHub Codespaces – highly recommended) Go to a repository on GitHub and click “<> Code”, click “Codespaces”, click “Create codespace on main”